we are going to open-source the design at some point, we just want finalize it and produce the first units before doing so
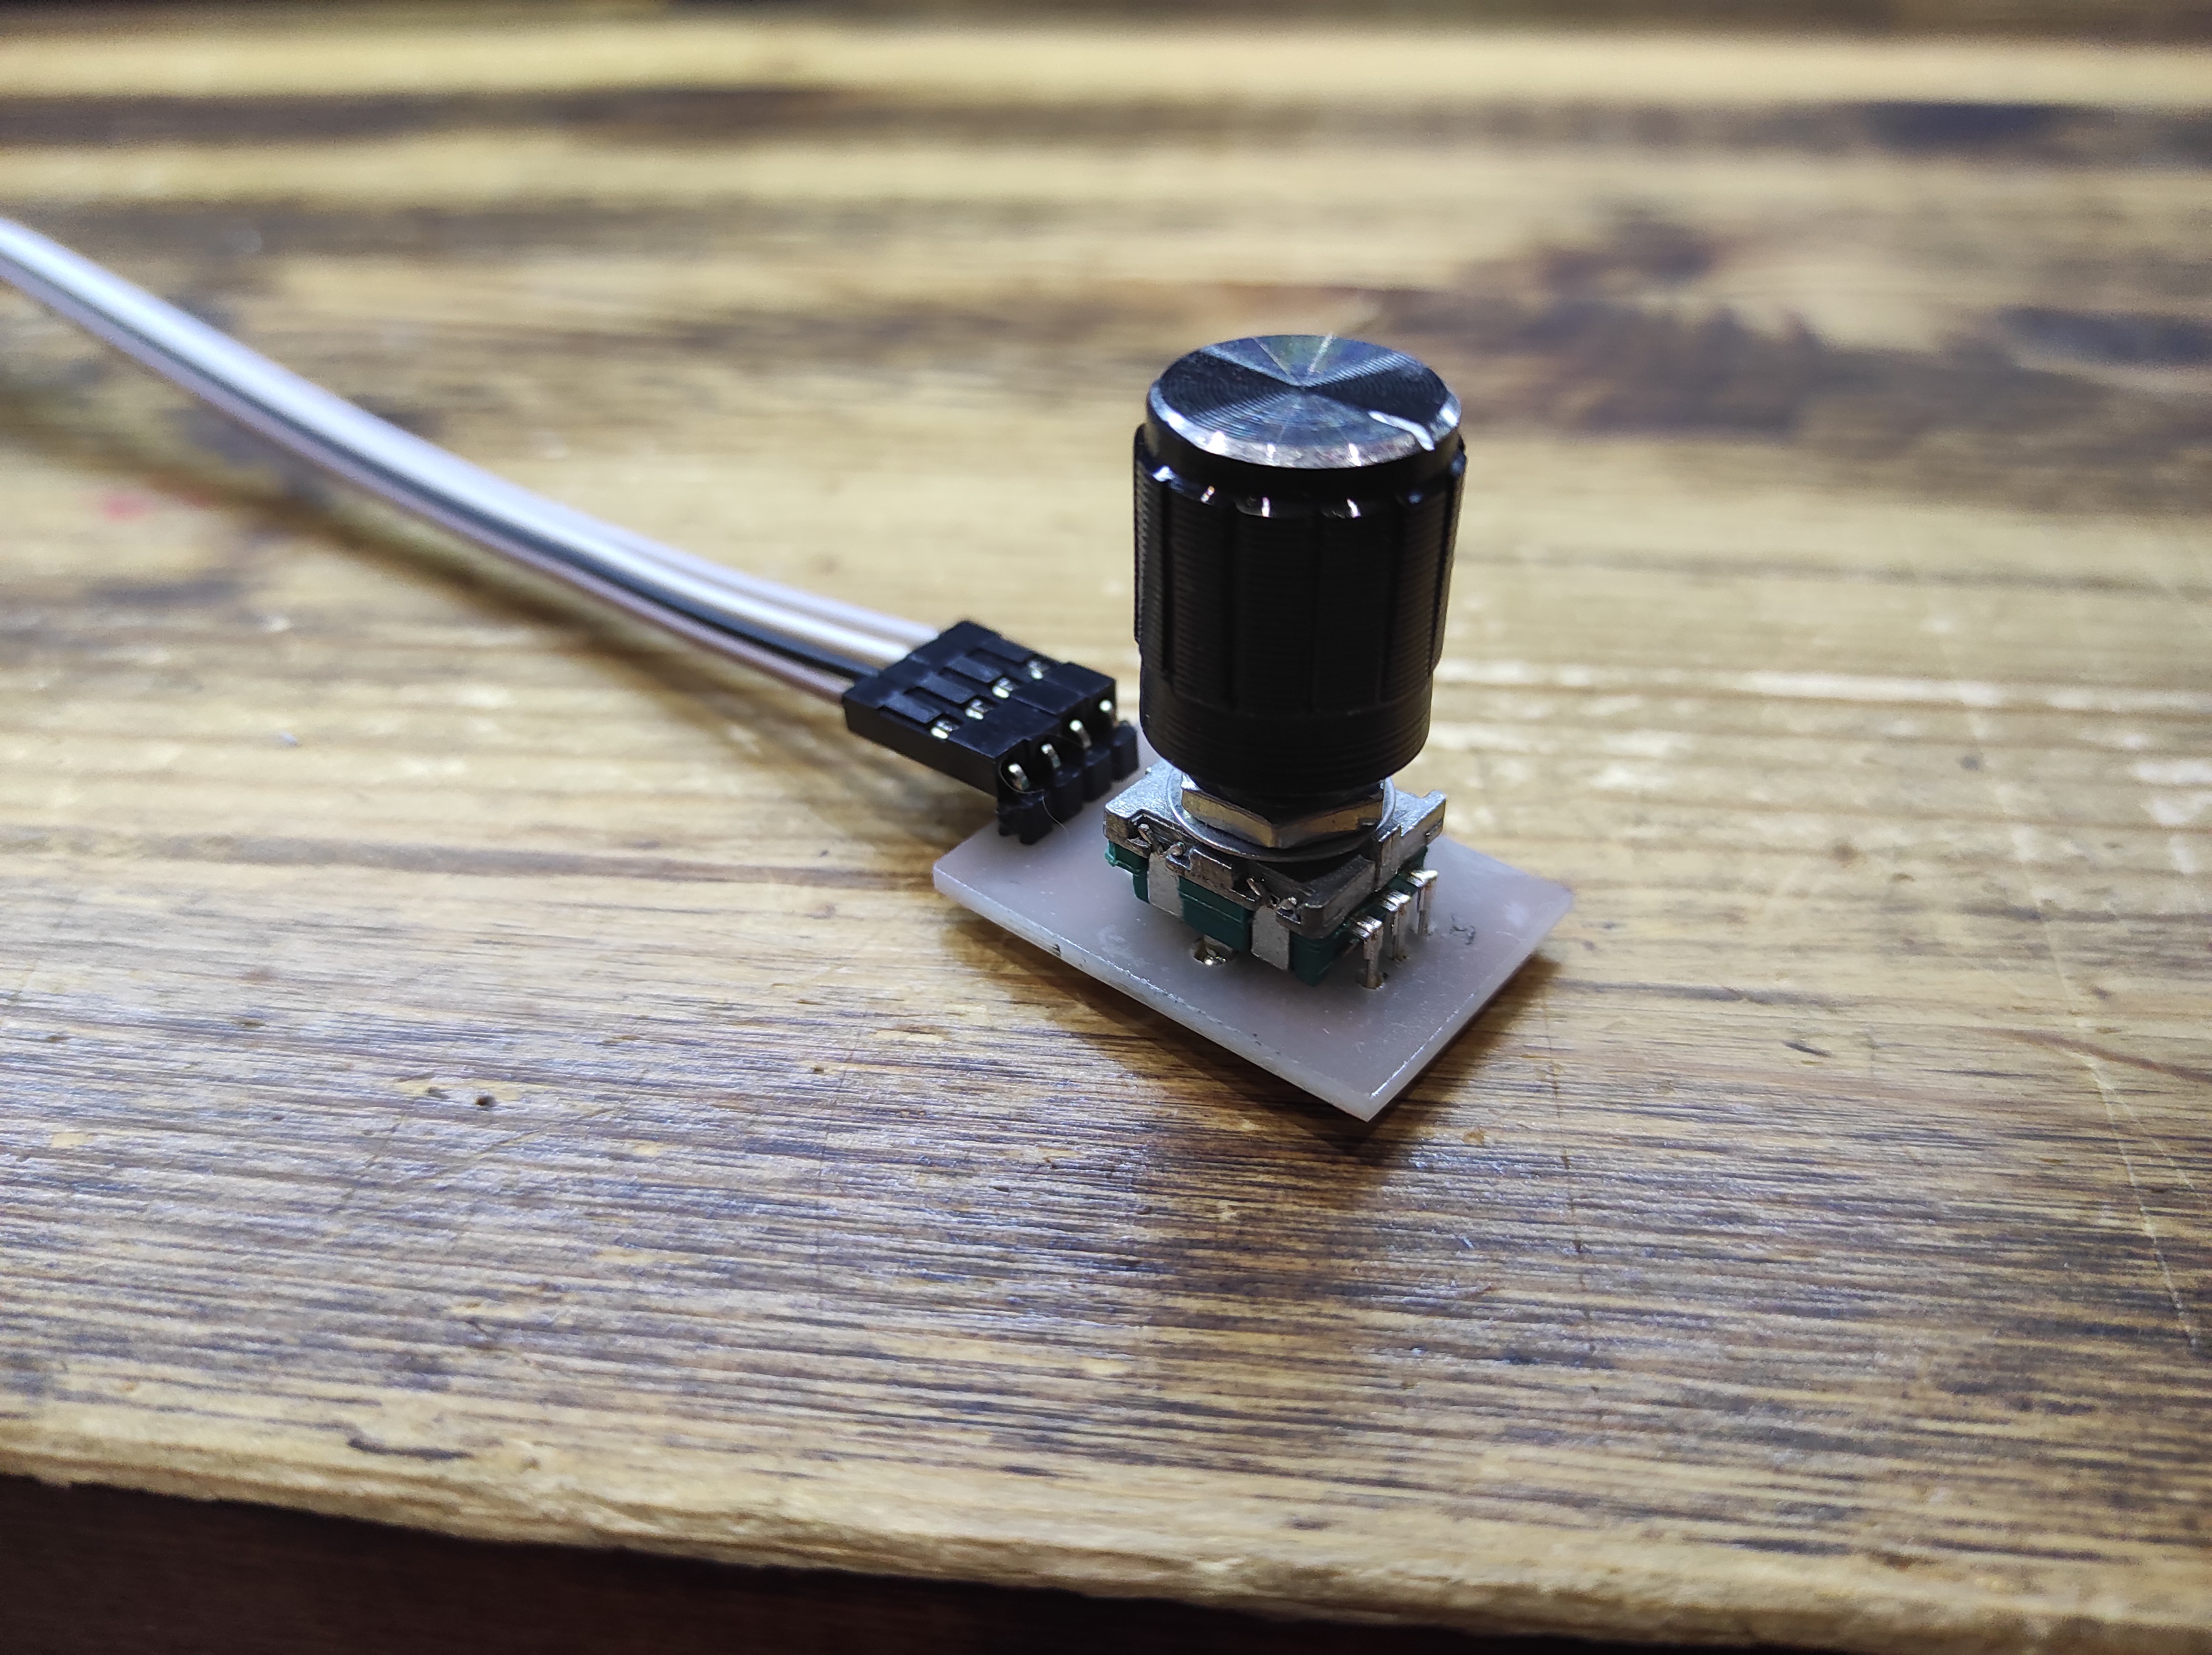
regarding the pot used, we indeed don’t use the full range but a section of it, and the device gets calibrated before shipping. Ofcourse its also possible to calibrate it later!
Good to know, thanks. I may give it a try eventually, putting a 3D printer in a garage or something (don’t tell the missus). Would you recommend any particular model or line of 3D printers?
Our makerspace has some Prusa clones, some Makerbot clones and a real Prusa. The real prusa is the most expensive, but also the easiest to use. By a lot. It’s self-leveling, has good diagnostics, etc. It’s as close to plug and play as I’ve seen in 3D printing.
my first printer was a Wanhao i3 mini which I can really recommend. Its inexpensive, small and with the right vents pretty quiet. The buildroom is small but enough for starting out. Prints are decent.
Besides that I’m using an Anycubic i3 Mega S which I also can recommend. Very low maintenance while printing a ton of stuff.
If you wan’t to look into advanced stufff look at The Voron builts.
Regarding the square cut out, can you not use a Dremmel with cutting wheel. I know a few people have used them with success although I haven’t tried. Would give you the straight edge - hopefully ; )
Also look at using fabricated PCB’ s for the top -I think notes and volts and look mum no computer have done that. That way you get the cuts you want on top and anything underneath that’s ugly can be covered
@Austin73, @Elk_wrath, oh, guys, you made my day, lol!
Re: Dremmel with a cutting wheel - steady hands is exactly what concerns me, though I’m not a drunkard, I’d prefer my CNC to do the job. They say though that one shot (about 40-50ml) of strong liquor of your choice (where I’m from, vodka is a go-to drink) can improve your reflexes and steady hands. I use this when I play pool, but, you know, it’s so easy to quickly overdo those 50ml in a bar…
I think if you have the CNC already and the enclosure then that’s gonna give you a really good result! can’t get much better
If you want a design or labels on the top face, you can just paint it and then engrave the design afterwards. If you don’t want to paint it (keep the raw alluminium look) but you want engravings that you can still read! I have a trick for you. Cover the top surface with masking tape or some kind of adhesive film, engrave the labels/design through the tape into the metal, with the tape still on, spraypaint it black (or any other colour) then when it dries, remove the tape and the engraved sections are now filled with black paint while the rest of the surface is raw alluminium
Maybe you already know this or have a better method, just thought I would share
Excellent tip with the masking tape!
I was also thinking to try and engrave the aluminium with the laser, but it may be also good if I laser cut the masking tape and the spray paint over, leaving a thin layer of paint for labels.
If you laser engrave the enclosure with the tape on it then it will probably engrave through into the metal too. Then you can fill the engraved metal with paint. That way the paint won’t scratch off
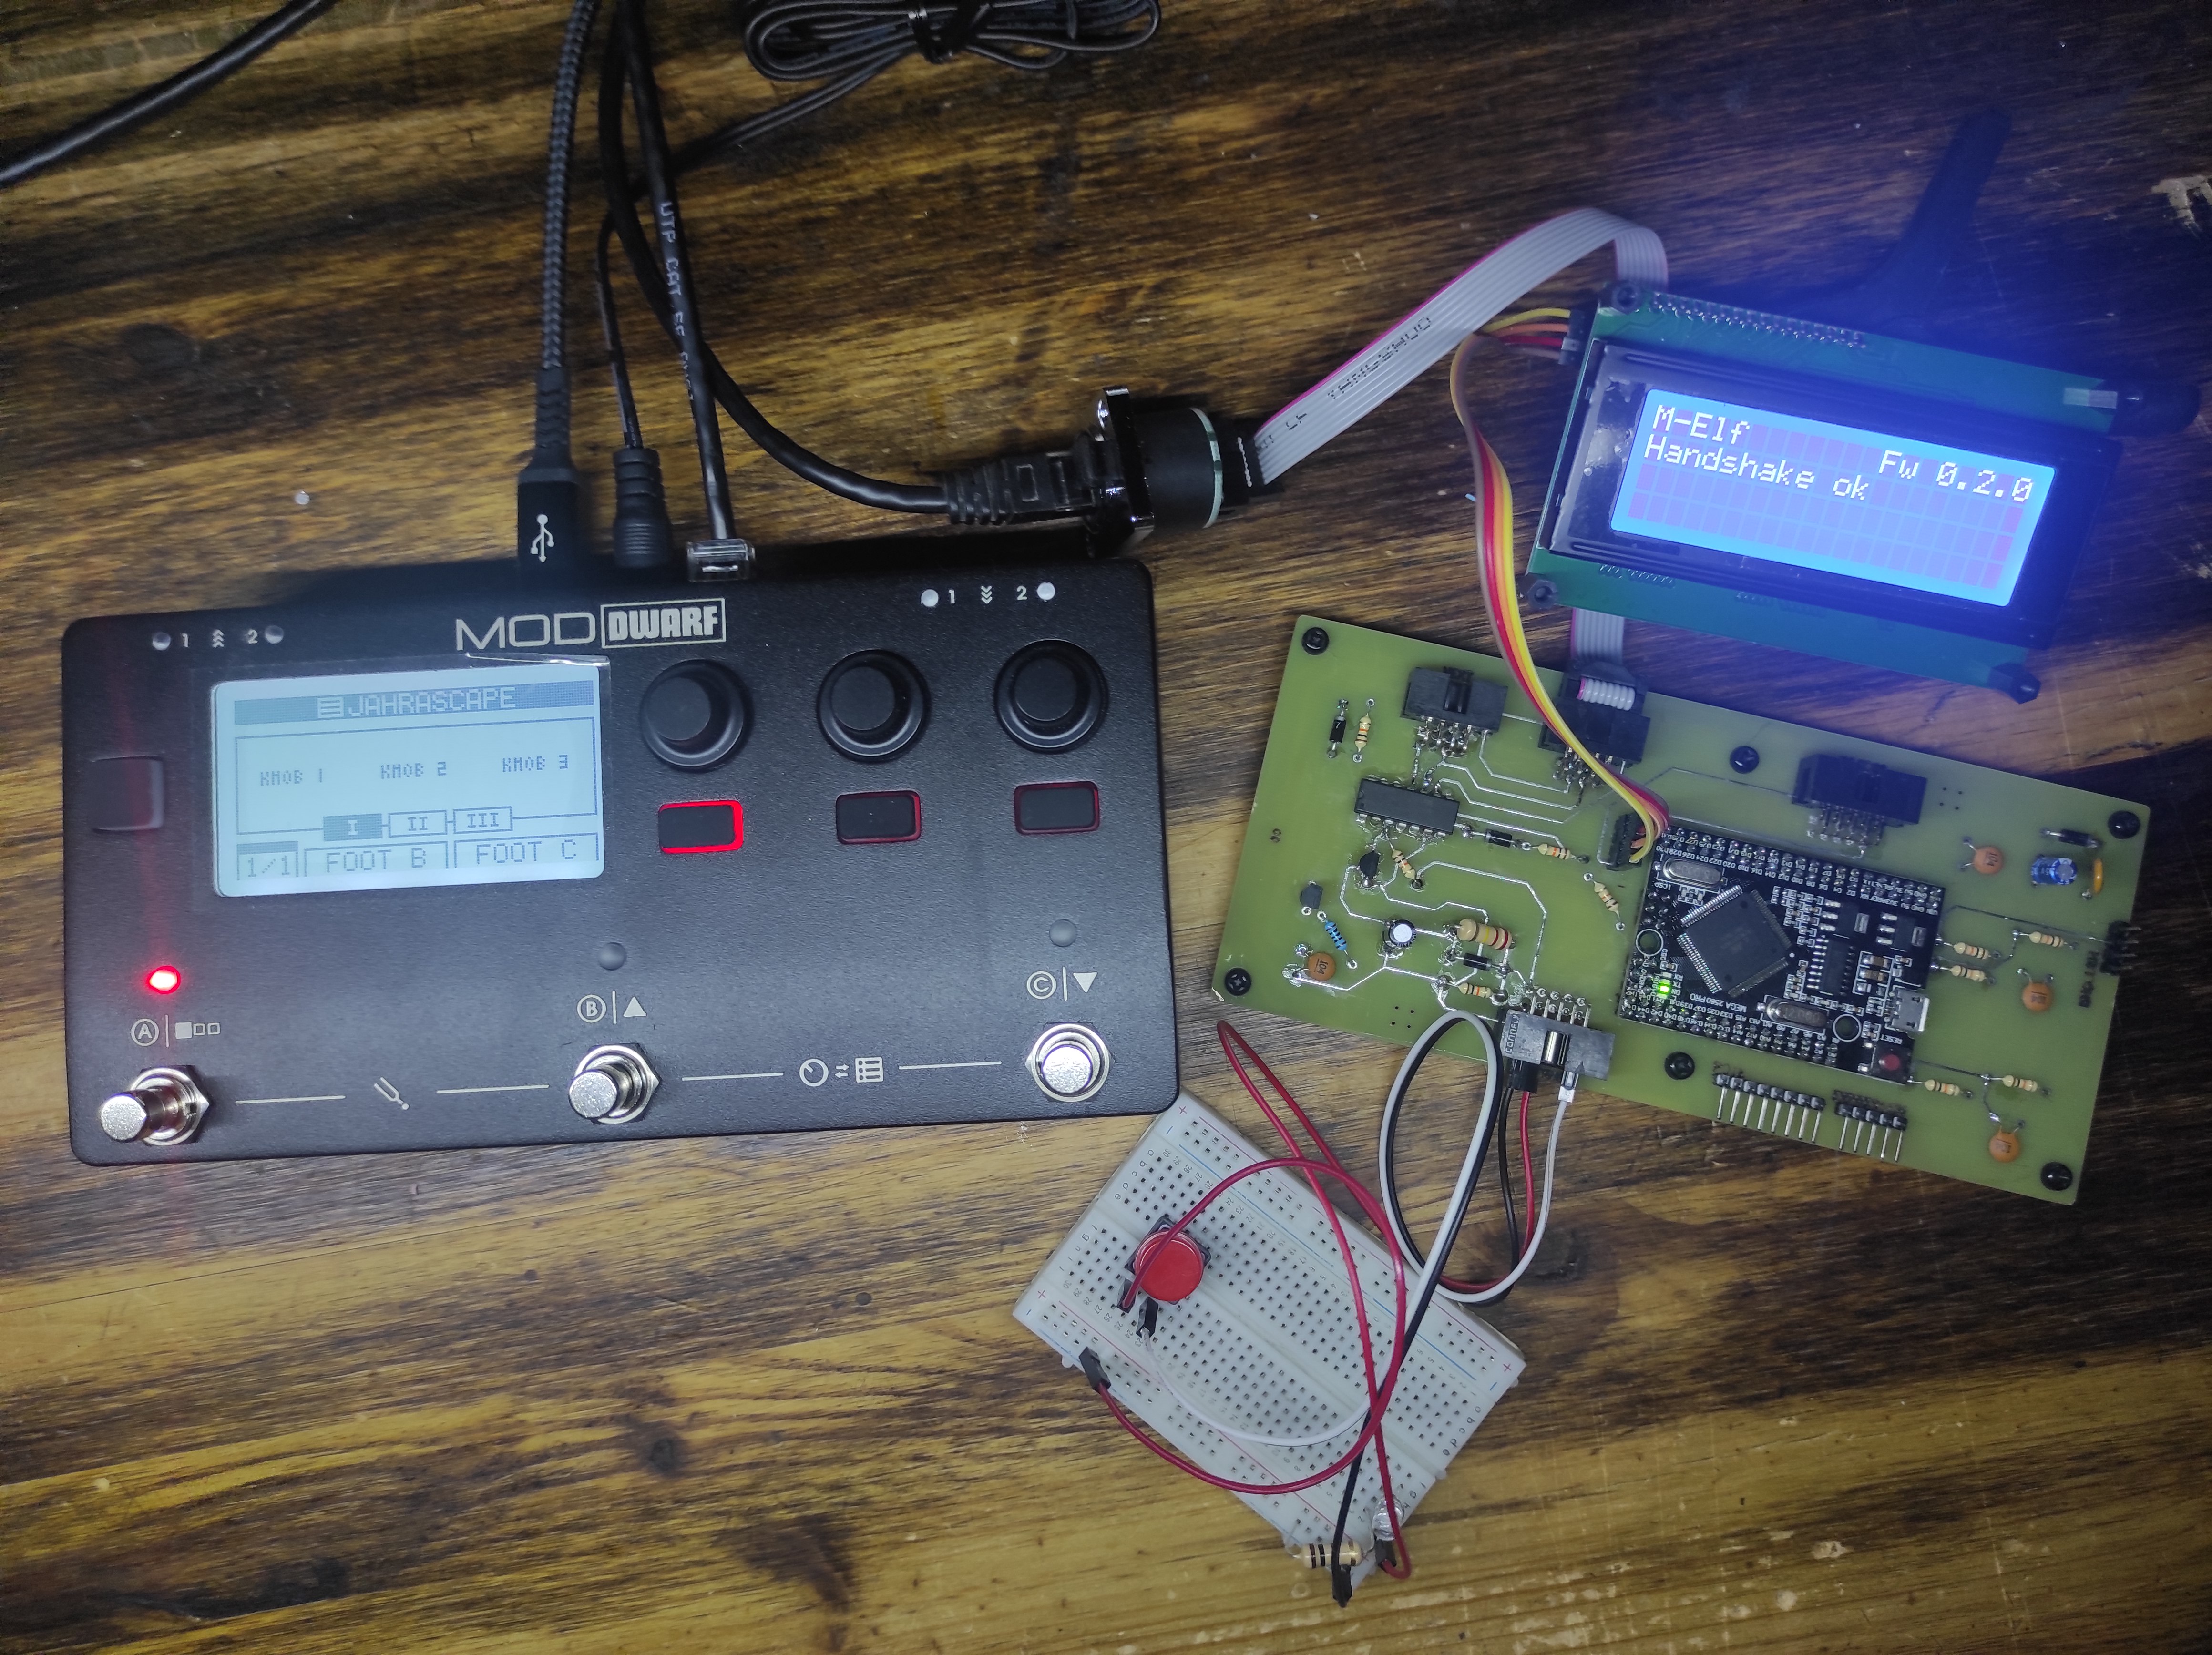
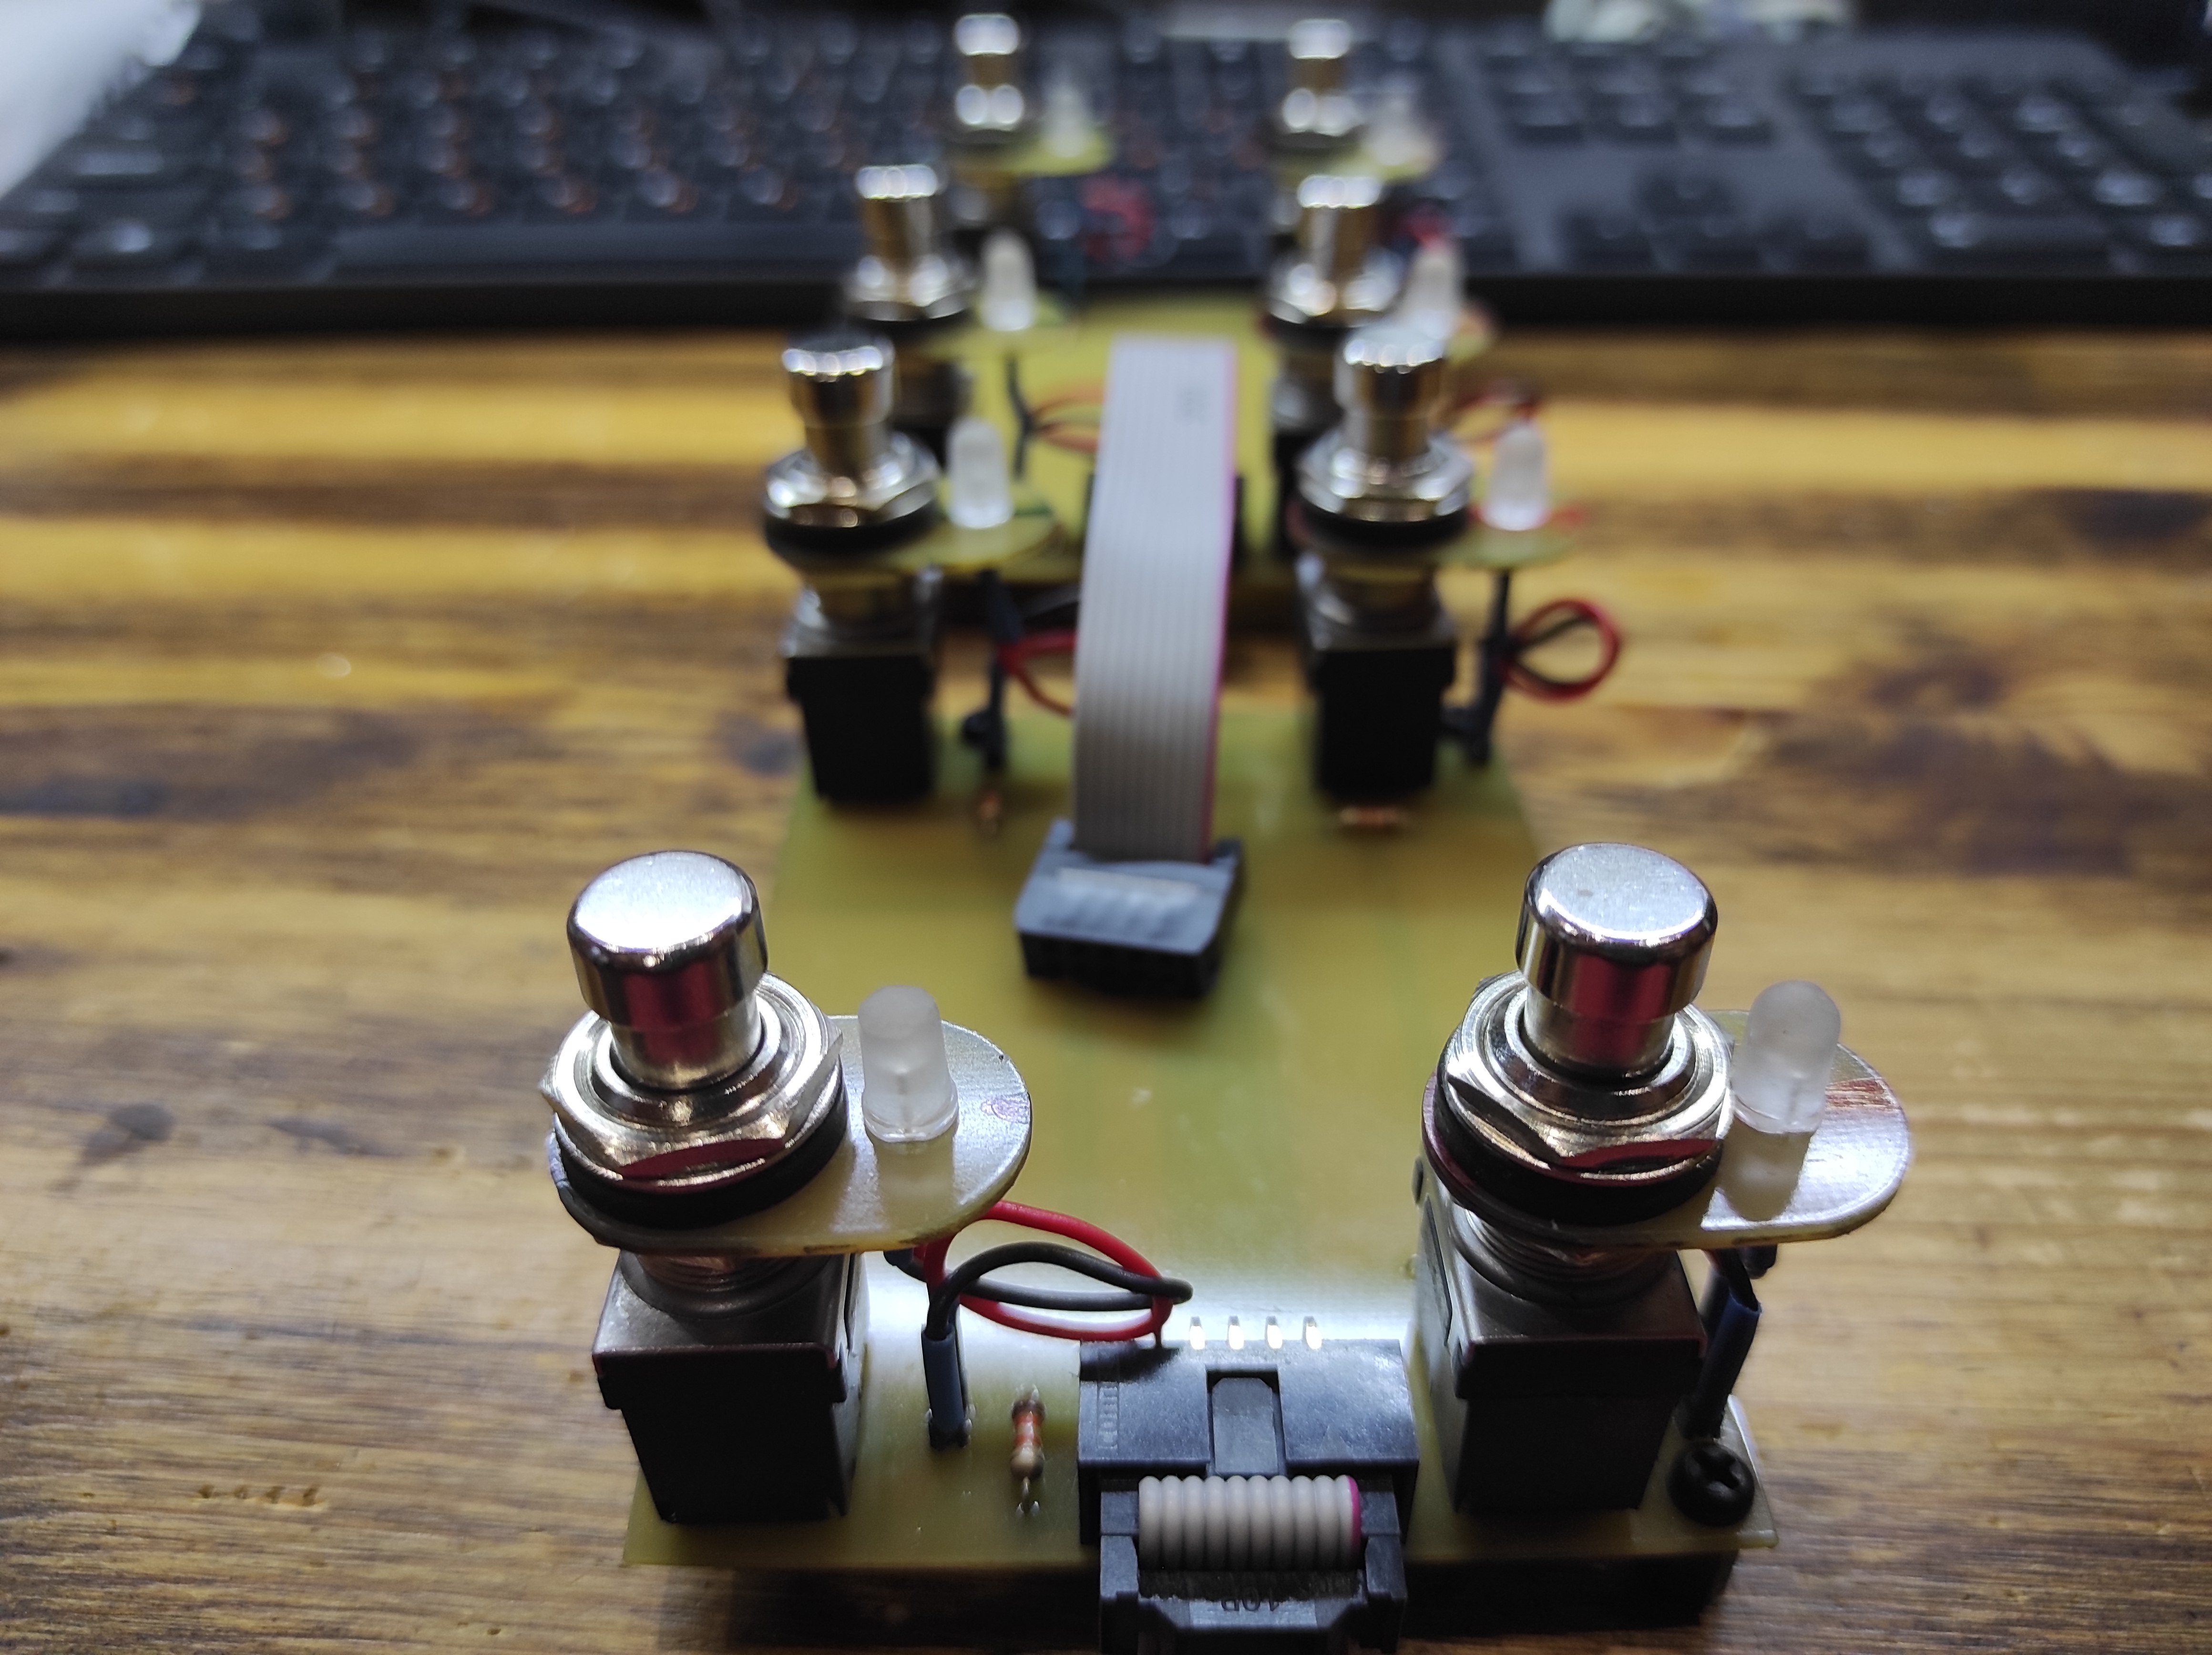
Ok, finally I got some progress. I have assembled the main board with Arduino, connectors et al. You can see an RJ45 attached on a flat cable, an LCD over I2C and a button and a led attached to one of the two connectors that will bear 4 footswitches and 4 leds each.
It took me a while to cut the traces with the laser on both sides and etch the PCB.
Now to the enclosure milling and making breakout boards for leds and footswitches…
P.S. Soldering looks quite ugly, but it will do for a prototype