this is great. Really beginner friendly and I think pretty easy to do - even for people that never soldered before. The footswitch I built also uses the pro micro and it just works. As Simon said there are enough pins to do a lot of stuff.
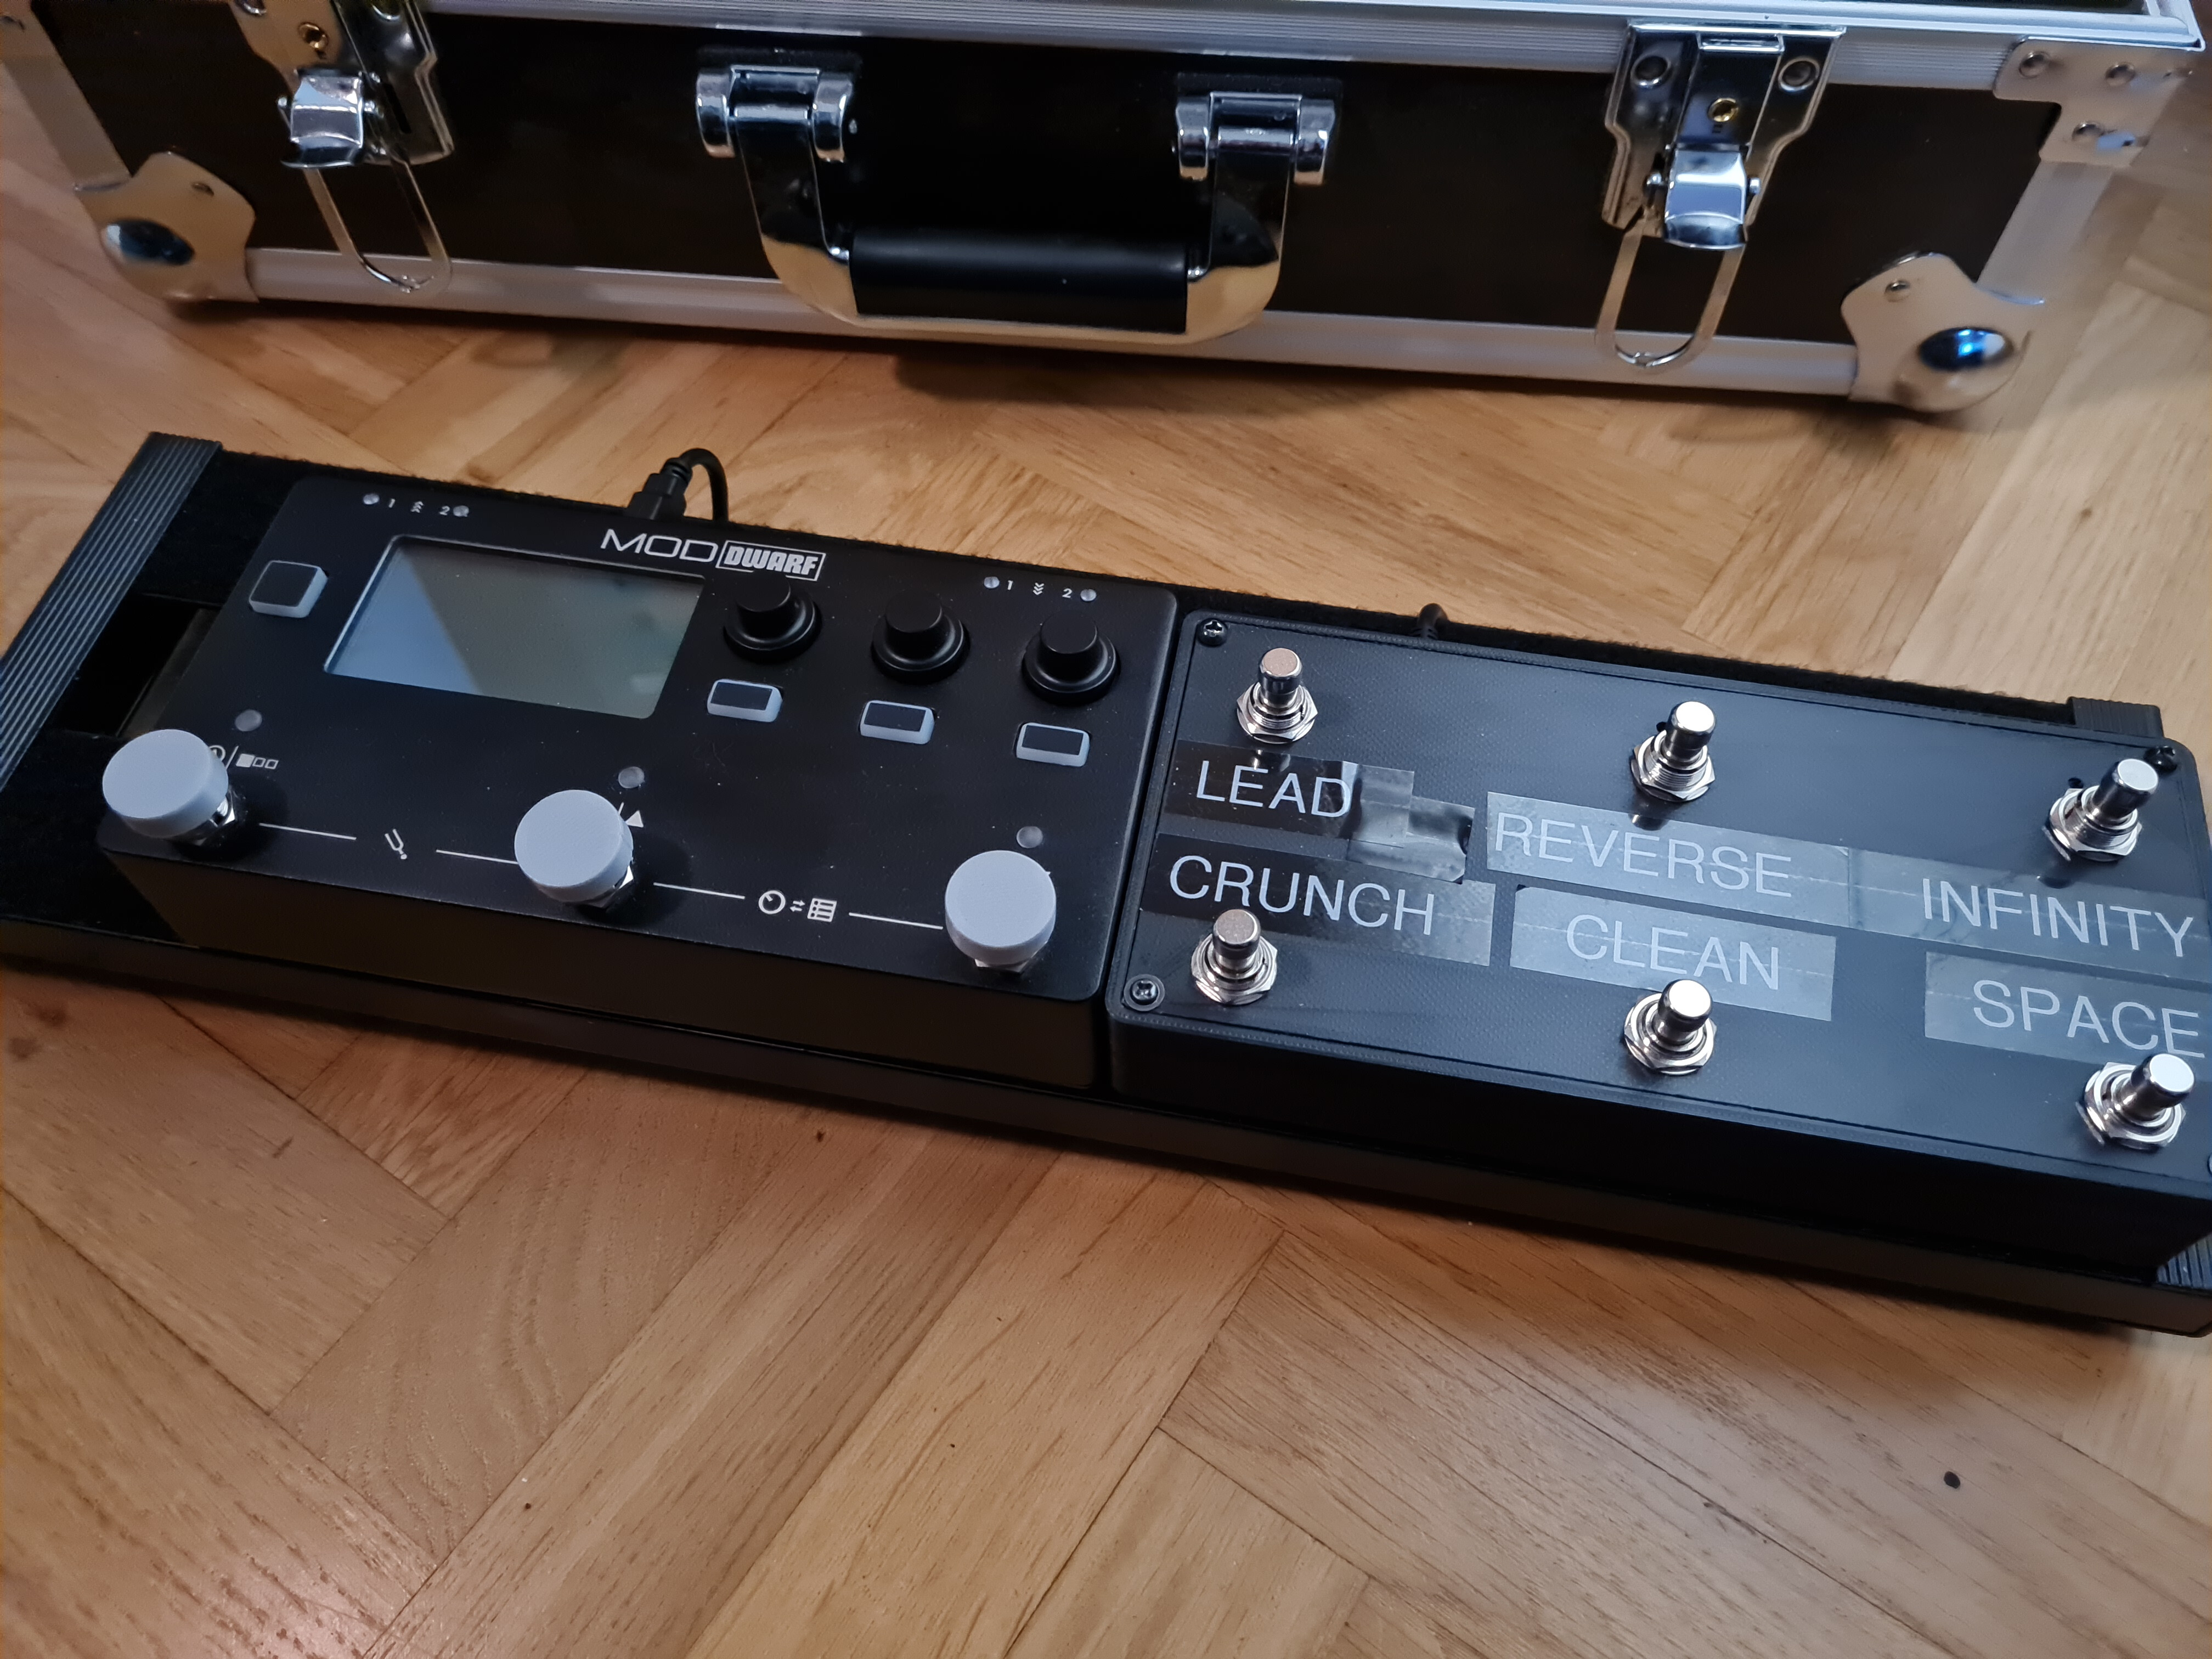
this is my prototype footswitch - so these are hardcoded CC 0-7 for the snapshots. Crunch and Lead also change the channel on my amp.
This was kind of an overnight build (except for the enclosure) because I wanted to use the dwarf at a show the next day. The next version will be using a teensy and https://github.com/neroroxxx/BMC for configuration. The Version after that will be ControlChain (hopefully when its is more sorted) and a few displays and encoders:
In this version, we now have “Stomps”. Up to 12 of them!
To keep the project as simple as possible and to avoid unnecessary soldering, we will use the Arduino built-in “Pull Up” resistors on the digital pins to keep the switches from possible random triggering.
As usual, I try to document the code as much as relevant but feel free to ask questions in this thread if you need help.
At this point, the hardware part is pretty much what it will remain. Future updates will most likely only be on the software side to add new features.
In the next version, I will implement sending “Notes”. Imagine using the foot pedal assembly of an old organ and use our 12 digital Arduino pins (and borrow one analog) to make a 13 notes foot MIDI keyboard (similar to a Moog Torus or a Roland PK-5) to go along with your favorite Mod generator plug-ins?
Also, I want to implement a way to configure the expression/volume/stomps without having to reprogram the Arduino every time you want to make a change.
But, for now, you have a fully functional MIDI controller you can already use with your Mod Devices.
Agreed but still, we shouldn’t have to reprogram the thing if you want to change your values.
Unless I misunderstood your remark, the code already allows you to determine the kind of MIDI message you want for each switch to send independently. So, you can have any combination of CC (momentary or latched) and PC as you like within the 12 switches currently available.
I believe so. As I mentioned in my previous post, most new feature added to this project is a matter of expanding the software. I’ll look into that since I want to implement sending notes in the next iteration of this code anyway.
This project already allows for up to 4 expressions. You can use a volume pedal you may already own (such as Ernie Ball) or use potentiometers screwed to the cover of a plastic box for desktop operations.
A future version of this will incorporate a “multiplexer” to add close to 16 more inputs. Imagine a table top MIDI controller with 16 potentiometers and/or switches assigned to controls in your Mod Dwarf/Duo/X plug-ins?.
Oh, believe me, I have plenty of ideas this project can be made into…
yeah Ive done the mux thing before with the notes and volts which worked fine.
Im looking to do the same with just USB without hairless etc. That way I don’t need the extra power but dont program so had no idea how to change it to teensy.
Also if I remember correctly the notes and volts was channel 16 only and I couldn’t see how to change the channel
If you don’t want to compile the windows code for the Configuration Manager, you can find an already compiled executable in folder “bin\Debug” in the ZIP package above.
This project can certainly be further improved but as it is, it already does more than many products commercially available.
Thanks a lot for your work! It looks easy to build one. Are you able to tell me what’s the sampling rate of expression pedal signal conversion to CC value? Would it be possible to have a long press function and led selection for each footswitch?
There is no sampling rate. The code runs in a loop and scans in sequence all switches and expressions for activity. When activity is found, the program sends the associated MIDI info and then resumes the loop.
It may be possible to add long press. It would require to memorize the moment at which the switch was depressed and then loop until the desired interval has been reached before acting.
As for LEDs, they can easily be implemented to follow the memorized state of a switch but you have to remember that this project flows the MIDI only in one direction. So the LEDs will not be updated if a change is made by a source external to the Arduino.
I did not put any LEDs in this project because the Arduino model I used would not have had enough pins to power them. A “Multiplexer” could be used to help with that but I wanted to keep this project simple to do for Arduino beginners.
But seriously, I do Arduino stuff in my limited spare time and I sometimes avoid spending too much on learning tools and focus more on writing my code. But, it is like a snake that eats its own tail because those tools may well save me some coding time…
I know of PlatformIO. I actually have it installed because I needed to recompile a 3D printer firmware but, as mentioned above, I never took the time to learn it.
As for the “Control Surface Library”, I was not aware of that one. Thanks !!
Hi, great project Simon! It works great on my breadboard for now (I have one control surface on another). One thing is bothering me, you made configuration program for Windows, and it works. I’m mostly using Linux, and have tried manually with “DATA: something, something” from serial monitor and it works. But, I don’t know what excatly should I send to Eeprom.
The “serial stream” is 20 bytes in hexadecimal notation for each stomp and expression controls. So 16 stomps/exp. times 20 bytes each plus the header “DATA:” makes a total of 325 bytes.
The “ConfigMode” function in the Arduino code is the one that receives the stream from the serial port. You can look at it to see in which order the parameters are received.
Hej, I followed this great thread as it was evolving but it lasted just until now that I wanted to start a built of a MIDI controller myself. I’m new to all this arduino stuff but am I right that I could use just about any arduino (equivalent) board that contains the ATmega32u4 and has the same amount of inputs as the pro micro or at least as many as I want to use in my project?
Thanks in advance!


